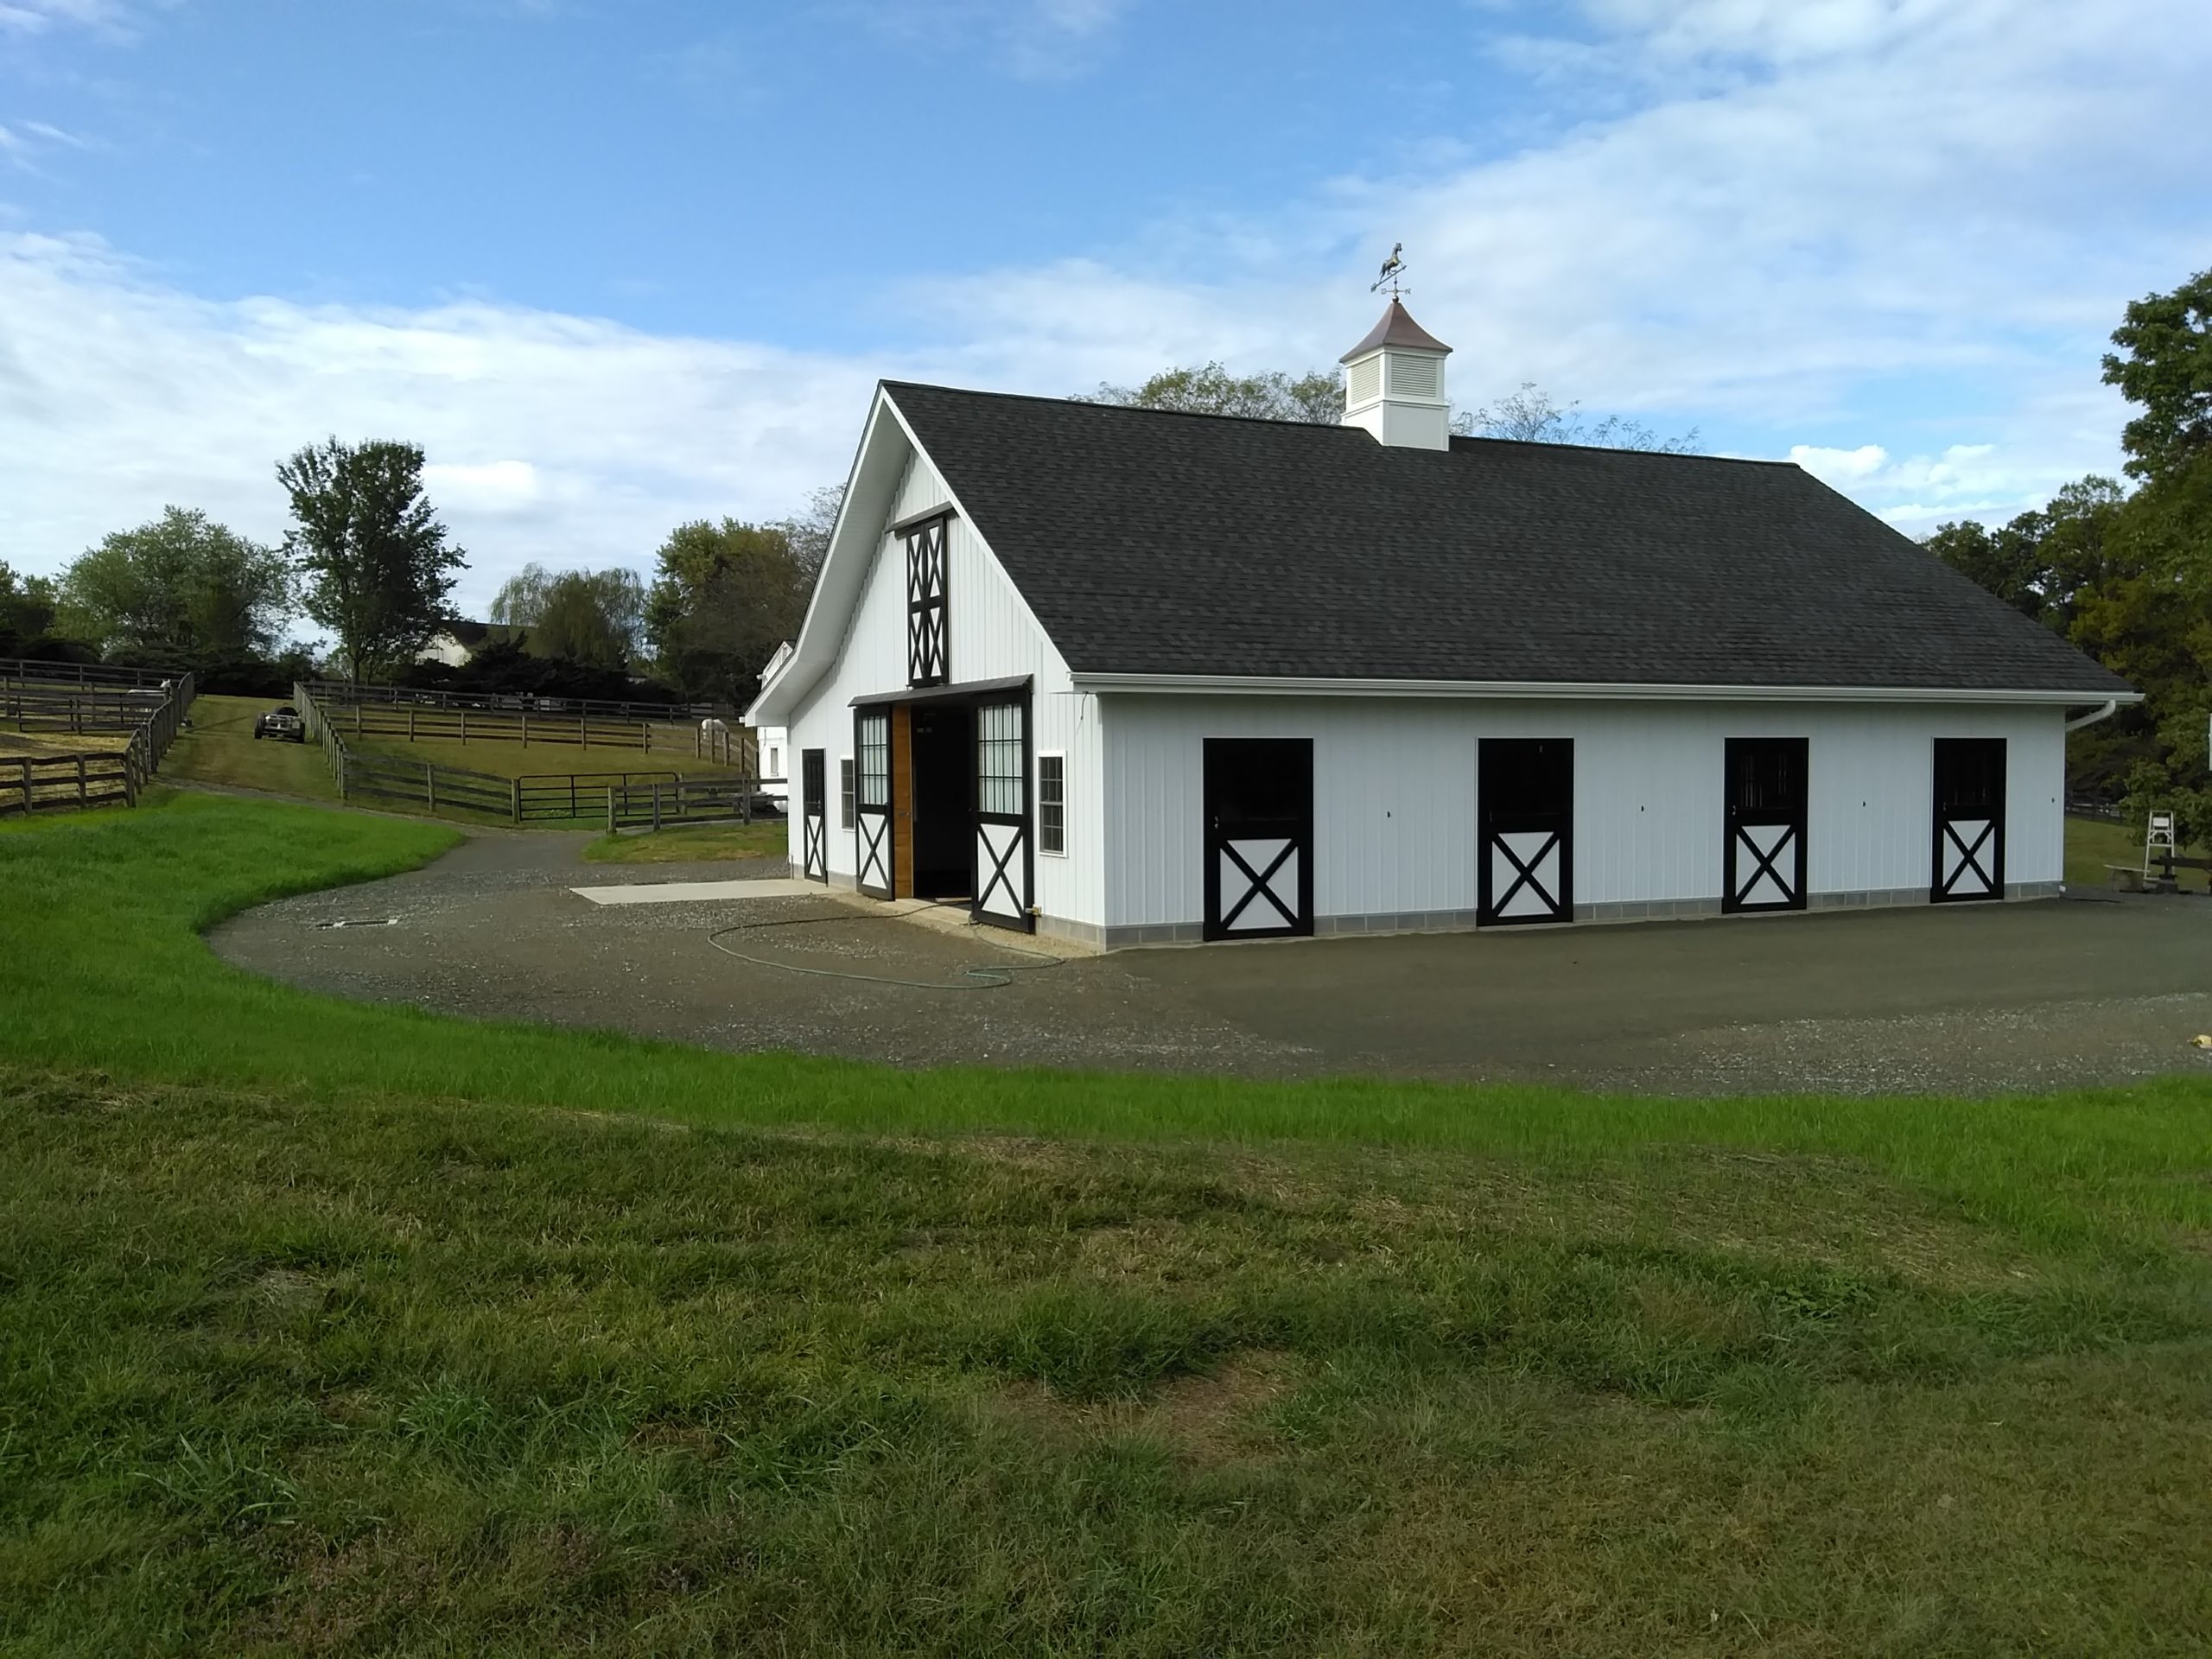
1. Trusses – How are the Trusses attached to the Posts? – If Laminate posts are used a builder may have a notched area either in the middle of the post or on side of the post with the truss sitting in the notch. Typically, these posts are made of three pieces of 2×6’s and then these trusses are bolted all the way through the posts. This type of construction allows for a strong connection. Corbels – a corbel is a wooden block. A corbel is attached to the post with the trusses sitting on top of the corbel. This type of construction is used were snow load is not a major concern. Snow loads and wind speeds should always be taken into consideration when determining how the building will be constructed.
2. Spacing of the Posts – When framing a home spacing of studs and floor joists is pretty standard however when building a pole barn the spacing of posts can vary greatly. This needs to be discussed with your builder and a lot will depend on the intended use for the building and the options selected, such as overhead doors, lofts, windows, etc.
3. Type of Posts – There are two types of post commonly used, a standard 6×6 post or a laminate 6×6 post that would be made of three 2×6 boards either glued or nailed together. Which one is better? A standard 6×6 will cost less and is probably better to use on buildings with a lower roofline and sidewalls. A laminate post will offer a much stronger structural strength and less likely to twist when they are under load and begin to dry.
4. Foundation – A common construction method is to dig holes for each post based on the building code and set the posts directly in the ground. The disadvantages of this are, it leaves the post more susceptible to vertical movement and rot where the post meets the ground. Many builders will place a concrete pillar in the bottom of the hole and then set the post on top of this pillar. While this does help with settling it still leaves the post susceptible to ground rot. A footer can be poured, and the post is fitted with a metal bracket on the bottom and this sits on top of the concrete footer. This is the most expensive option; however, it mitigates settling and post rotting from ground contact. Keep in mind treated lumber can be used in all the above applications and this alone will reduce in the potential for wood rot.
5. Vapor Barrier – Make sure your builder is including a vapor barrier in the cost. This is critical on a metal roof to deal with condensation and if you are planning to insulate the walls you will also need a vapor barrier on these metal walls also.
6. Does your building meet code – make sure your building meets all the codes before building. There is nothing worse than a building that fails inspection and extra cost is incurred to correct these issues.
7. Pitch of the roof – Pole barns typically have fairly flat roofs to reduce cost. Roof pitch is calculated by the number of inches it rises vertically for every 12 inches it extends horizontally so, with that said a 4:12 pitch will be more cost effective than a 5:12 pitch.
8. Metal Options for roof and sides – The key to this is strength and cost. So how do I know the strength of my metal roof and walls? It is actually quite simple, the smaller the gauge the stronger the metal. 30-guage galvanized is .0157 inches thick and 26-gauge galvanized is .0217 inches thick — 26 gauge is thicker – which makes it stronger however, if you go with the smaller gauge this will increase your cost.
9. Purlins – So what are Purlins? Purlins are long horizontal structural components of the roof. Purlins run perpendicular to the trusses and the metal roofing is attached directly to the Purlins. These are a important part of the build as they deflect the weight necessary for the snow load and must meet all requirements of your local codes. There are 3 common purlin systems – 1 – attach purlins flat. This would be wide side of 2×4 laying on the trusses. 2 – attach purlins on edge. This would be the narrow side of the 2×4 laying on the trusses. 3 – attach purlins on by using hangers to affix the purlins between each truss with the top of the purlin and even with the top of the trusses. All these methods are acceptable, and it is a good idea to discuss which option your builder will be using.
10. What are using Pole Barn for – Garage, RV Camper Boat Storage, Farm or Industrial equipment storage, Workshop, Man Cave. Letting your builder know the use for the pole building will allow proper design and pricing.
11. Girts – Pole barns are reinforced with 2×6’s. Your builder will decide the spacing based on the use of the Pole Barn. For instance, if you will be attaching equipment on the inside of your Pole Barn you might want a smaller spacing to allow you more options on how to hang equipment. Discussing this before the build will allow for a much more functional building.
12. Truss Spacing – this is something you need to think about. If you plan on finishing the inside of the roof a smaller spacing would be the more prudent option to allow this.
This is a brief overview on what to think about before building your Pole Barn. There are many items to consider and here at Precise Buildings our experienced sales staff is here to answer all your questions and design the Pole Barn that fits your specific needs. We look forward to working with you. Please contact one of the following sales representatives, Tim Reed, Sonny Farwell, or Elam King directly at 717.768.3200.

